
Keycloak is an open-source Identity and Access Management tool developed by Red Hat. It provides single sign-on (SSO), user and role management, and supports standard protocols such as OpenID Connect, OAuth 2.0, and SAML. Red Hat
An interesting fact: Red Hat itself uses Keycloak as the basis for Red Hat SSO to secure its internal applications, which is a solid vote of confidence in the project.
This internal adoption highlights Keycloak’s reliability and robustness for identity and access management.
Introduction
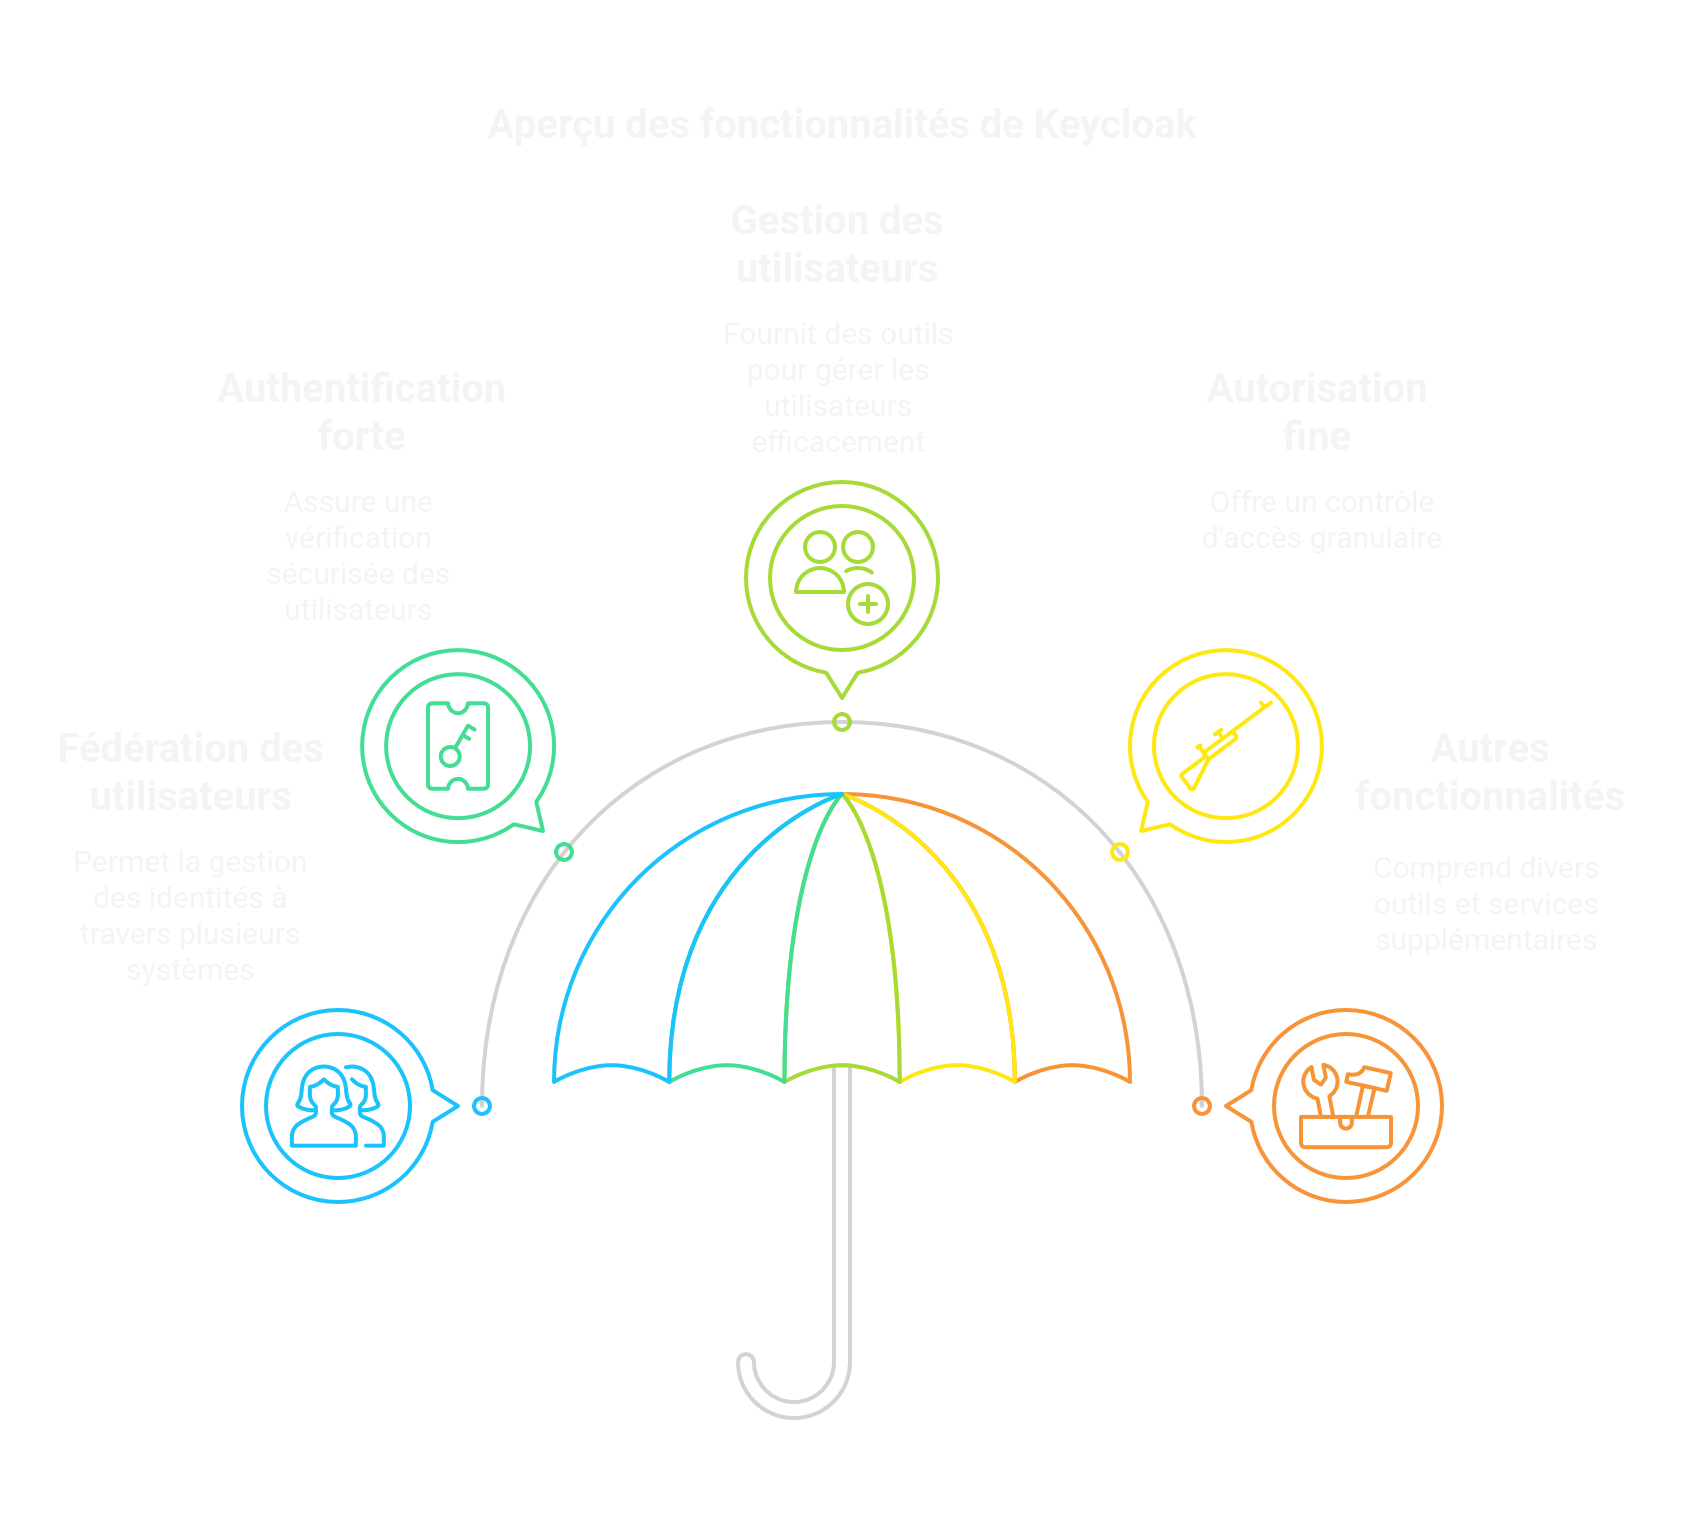
Keycloak offers user federation, strong authentication, user management, fine-grained authorization, and more.
Here’s how to enable HTTPS access to your Keycloak server using a free Let’s Encrypt SSL certificate. The beauty of Let’s Encrypt is how simple—and free—it is to use.
This guide assumes Keycloak is already installed at /opt/keycloak/ using the official server guide and that you want to enable HTTPS. You need version keycloak-26.1.1 or later.
In all the steps below, replace <DOMAIN> with your real domain. Run every command as a superuser.
1. Install Certbot
Install Certbot first. The command depends on your Linux distribution.
For apt-based distros like Debian or Ubuntu, run:
apt install certbot
2. Generate HTTPS certificates
- Create the certificates:
certbot certonly --standalone --preferred-challenges http -d <DOMAIN>
3. Configure Keycloak
- Edit the Keycloak configuration file:
vi /opt/keycloak/conf/keycloak.conf
Add or update the following lines:
https-certificate-file=/etc/letsencrypt/live/<DOMAIN>/cert.pem
https-certificate-key-file=/etc/letsencrypt/live/<DOMAIN>/privkey.pem
hostname=<DOMAIN>
https-port=443
http-port=80
- Apply the changes by rebuilding Keycloak:
/opt/keycloak/bin/kc.sh build
- Then start Keycloak:
/opt/keycloak/bin/kc.sh start
Your Keycloak server should now be reachable over HTTPS.
4. Optional: Run Keycloak as a system service
4.1. Create a systemd service
- Create a dedicated user and group:
useradd -g keycloak keycloak
- Grant access to the certificates:
chmod 0755 /etc/letsencrypt/{live,archive}
chgrp keycloak /etc/letsencrypt/{live,archive}
chgrp -h keycloak /etc/letsencrypt/live/<DOMAIN>/privkey.pem
- Update Keycloak directory permissions:
chown -R keycloak:keycloak /opt/keycloak/
- Create the systemd unit:
vi /etc/systemd/system/keycloak.service
Paste the following content:
[Unit]
Description=Keycloak Application Server
After=syslog.target network.target

[Service]
Type=idle
User=keycloak
Group=keycloak
LimitNOFILE=102642
ExecStart=/opt/keycloak/bin/kc.sh start --optimized
StandardOutput=append:/var/log/keycloak.log
StandardError=inherit
RestartSec=2s
Restart=always
AmbientCapabilities=CAP_NET_BIND_SERVICE

[Install]
WantedBy=multi-user.target
Reload systemd and start Keycloak:
systemctl daemon-reload
systemctl start keycloak.service
4.2. Auto-restart Keycloak after certificate renewal
Add a post-renewal hook to restart Keycloak after certificates are renewed:
cd /etc/letsencrypt/renewal-hooks/deploy
vi restart-keycloak.sh
Add this content:
#!/bin/sh
systemctl restart keycloak
Make it executable:
chmod +x restart-keycloak.sh
Conclusion
That’s it. Keycloak now starts automatically with your machine and will restart after every Let’s Encrypt renewal, keeping HTTPS active without manual intervention.